Tents are meant to provide you adequate shelter while you step out on your highest and extremest adventures.
A high-quality camping tent protects you from various adversities that nature might decide to throw on you.
Thus, all adventure lovers desire to have a fine-quality tent. What makes these tents desirable is their durability to extreme weather conditions.
An essential aspect of a tent is the projection it can provide you against your worst enemy. No, not a tiger, but the humble water that may choose to seep in through your tent cover and leave you and your belongings all soggy. Thus you need to know their waterproof qualities.
Sometimes, many tents are highly durable but might not be waterproof. In those cases, you might want to try your hands at some DIY-ing and get going!
The already waterproofed tent species could undergo wear and tear over the long period of their usage. Thus their effectiveness in waterproofing is bound to experience some leakages.
In this article, we have provided you with some handy skills to waterproof your tent, either for the first time or as part of your routine grooming of the tent.
Contents
Waterproof Check
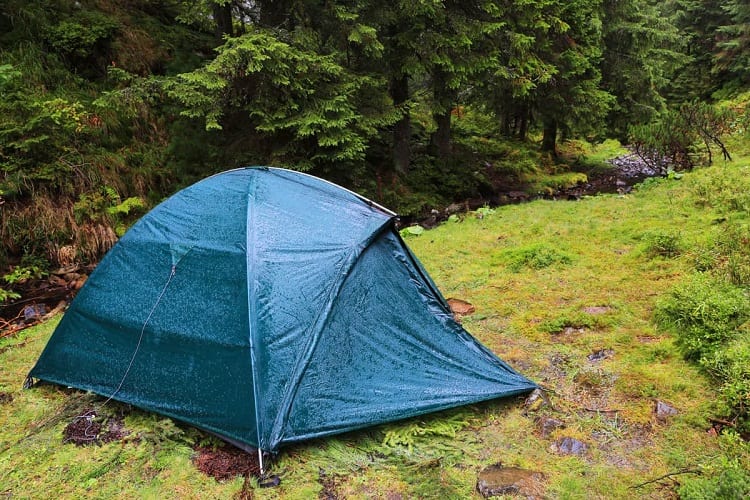
While it is only but evident that tents, by their very purpose of use, should come padded with water resilient material, certain products in the market are either not waterproof or shall only promise to be so.
Furthermore, some tents are waterproof, and some are “water-resistant.” The latter means that they can slow the process of water seepage but might not be able to save you entirely.
Specific parameters to know if you have a waterproof tent and its intensity are:
Construction
Any tent to stand firm in the face of a rainy forecast must first and foremost have sturdy construction. Low-quality seams or damaged zips can render any tent weak irrespective of its other feature.
It should be double stitched and should have high-quality zips. The groundsheet is a crucial element that should have a high-quality waterproof membrane.
Waterproof Rating
The Hydrostatic Head is a waterproof rating given for the tent, giving you a clear picture. It gives you the measure in millimeters.
Thus, it depicts the amount of water column (in millimeters) that the tent can withstand above. Therefore, the larger the number means you are going in for a high-quality waterproof tent.
DWR (Durable Water Repellent) Label
If your tent has a DBR label, or the product description states that the tent has a DBR finish, your tent shall have hydrophobic properties that will turn away the water that falls on it.
The DBR coating on the tent’s exterior helps withstand heavy and prolonged rain.
Seams & Stitches
A high-quality, sturdy tent will not compromise on its tiniest of the tiniest part. Any hole or weak element can make the entire structure compromised.
When inspecting your tent, make sure you check the seams. The stitches should be designed to prevent any water leakage, and the seams should be glued together firmly.
Waterproofing Your Tent
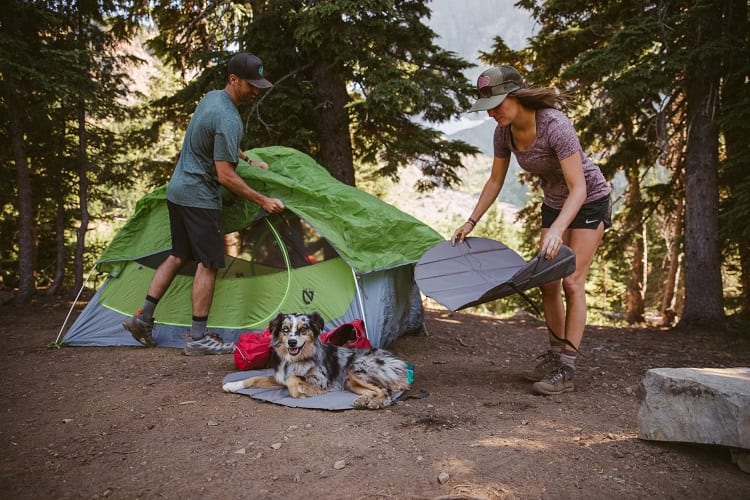
You are either set to waterproof your tent from scratch or rejuvenate it by adding a new coating.
The latter becomes necessary as our humble tents often undergo wear and tear. The tent sheets are bound to experience damage by continuous exposure to nature’s wrath.
The ferocious wind, harmful ultraviolet solar rays, storm, dust, and frost could leave the tent surface damaged and compromise its waterproof membrane.
Waterproofing the entire tent could be a tedious process and sometimes expensive too. Thus, it is always important to know whether the problem is a damaged tent sheet, or rather a weekend seam, hole in the tent, or other minor issues that require little cure.
The best way to check is to test the tent under the right conditions. You could spray or splash water on the tent on a dry day to see how well it performs.
We present you with a quick guide to waterproofing your tent for both cases.
Sealing The Seam
Seams are generally found along with the door, zipper, and window area. The way they are stitched is crucial in determining the water repellent property.
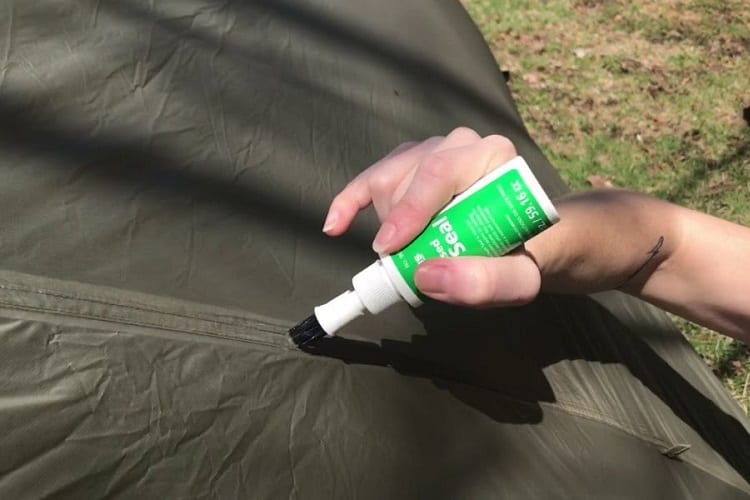
Usually, seams are double stitched, or the fabric is overlapped. It is only natural that the coating might have worn off the seams over time. Thus a good seal is essential. It could be done quickly by purchasing any good quality seam sealer as per your fabric.
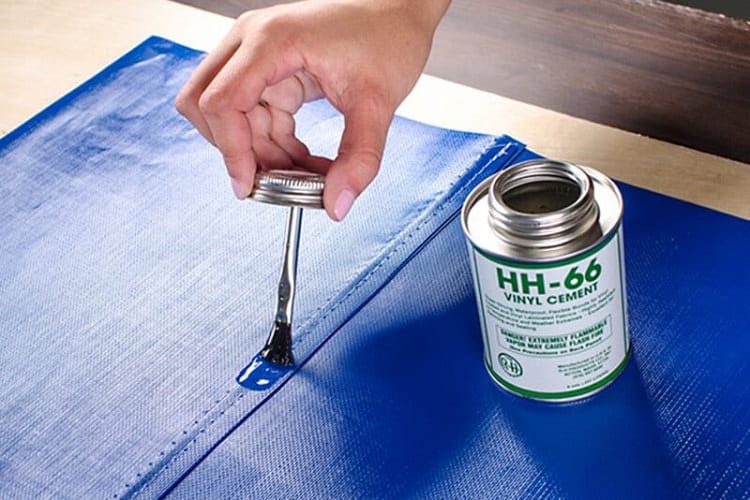
Inspect the seam to understand if you need to seal it partially or entirely. The essential things required are a Sealant, Brush, Gloves, and Rubbing Alcohol Wipes.
Begin by preparing the seams. Gently wipe the seams with the rubbing alcohol. Spread the sealant along the seam with the help of a brush and let it cure. Preferably, a dry day is preferred to aid the quick-drying out of the treated seams.
If the seams are damaged or broken, you must repair them from the store before treating them as waterproof.
Urethane Coating
Urethane Coating helps replenish the tent’s degraded rain fly or floor. Harsh weather conditions might wear down the skin of the rainfly, making it flake.
Urethane coating enables you to scrub off the flakes and apply a new layer. You would require a scrubber sponge, rubbing alcohol, and a tent sealant.
Lay your sheet out on a dry surface. Start by gently scrubbing the dry, flaky skin off the sheet with alcohol wipes. Apply the coating, following the instructions mentioned in the product.
After you are done with the process, dry it well (for at least 24 hours)
Durable Water Repellent Coating
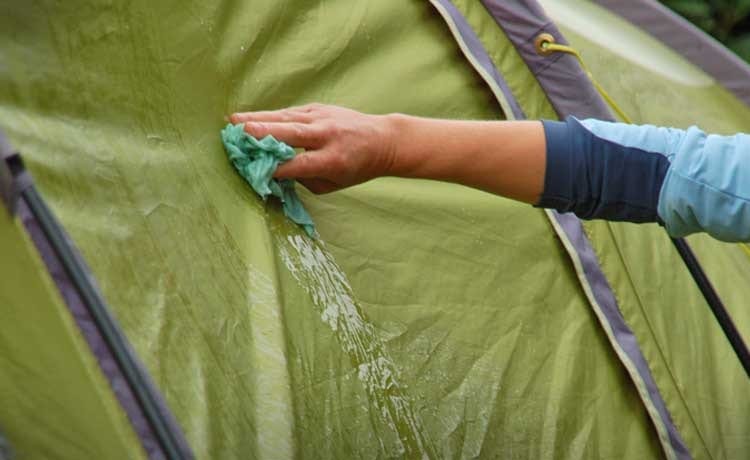
Rejuvenating your tent with a DWR coating is essential for being waterproof in the real sense. If you set out to waterproof your tent, you cannot afford to miss this step.
You require a premium quality Durable Water Repellent Spray, Spray bottle, and cloth. Instead of tossing your tent in the laundry, it is suggested that you treat it with care. It involved giving it a sponge clean with warm water.
Be careful not to use a powerful detergent. Once you’ve got your tent through the basic cleaning, set up your tent while still damp, proceed with the waterproofing treatment. The major equipment needed is the treatment and application tools (Sponge/ Brush/ Spray).
There is a variety of treatment products available in the market. These include solutions with added benefits of UV protection, mild wash properties, and solid fabric.
It can be done via a sponge, brush, or spray bottle (especially effective in the case of large tents). Once you’ve covered the entire tent with the treatment solution, leave it out to dry.
Exception: Polycotton Tent
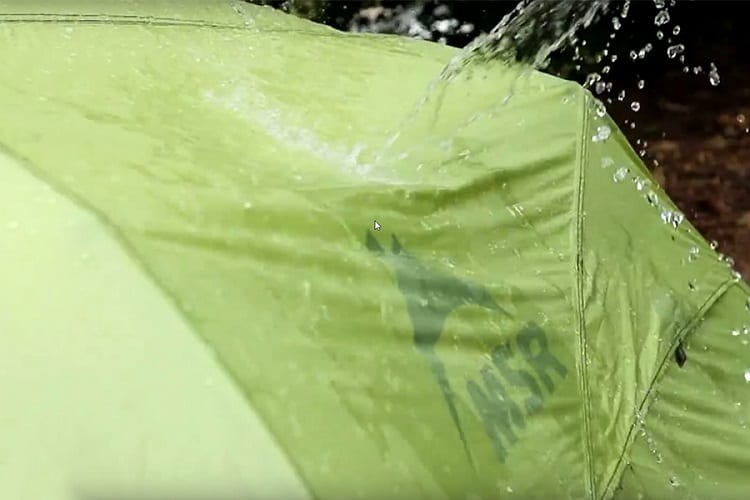
In a polycotton tent, the proper treatment is not waterproofing but weathering. New Polycotton tents are not 100% watertight and need to undergo weathering to seal them to be waterproof.
For this, lay your tent in an open space, preferably in your backyard, and then give it a good bath with a hose pipe. Make sure that it is entirely soaked in water.
This process ensures that the tent fabric tightens ul and the size of the needle holes (with all the million stitches) reduces, making it repellent to water.
Leave the tent to dry out in the sun, which will ensure that the fabric constricts. It is ideal to repeat this process three times to expect a watertight result!
Other Hacks
Ensuring yourself a waterproof tent does not guarantee you a waterproof adventure.
Ardent campers also realize the importance of tenting at the right place. A few fundamental principles to supplement your watertight camping experience are given below:
- Aim High & Dry – Survey your camping site to find a ground that checks the altitude and dryness parameters. It will ensure that water does not run and accumulate at your tent base. Moreover, a smooth surface is ideal.
- Using Tarp & Foodprints – Coat your groundsheet with a tarp to make it sturdy and water repellent. Usually, the groundsheet will have a higher Hydrostatic Head than the rest of the fabric. Using a tarp will help prevent abrasions and other damages to your ground cloth. Footprints are another desirable purchase to get superior waterproofing. A customized footprint would accompany many groundsheets. The footprints are also directly sewed with the tent fabric for complete proofing.
- Pitch the Rain Fly strong – You must pitch your rain fly tightly for it to live through a bad storm. Test run it after setting it up.
Closing Thoughts
Waterproofing could be done on both new or old tents. Tents of frequent campers are likely to experience wear and tear and demand regular checking.
There could be multiple points in the tent that could initiate water leakage. Damaged seam, ties, and zips could be easy points for water to enter.
Some frequent campers would advocate that waterproofing should be done as part of the regular grooming routine of the tent to ensure it lasts long.
Some could reproof at their camping sites. Yet others could never find the time to waterproof and go for ways like using a tarp. In any case, make sure you choose the right product and follow the instructions for seamless waterproofing!
References:


I just like the valuable information you supply to your articles. I’ll bookmark your weblog and check again right here regularly. I’m slightly sure I’ll be informed many new stuff proper here! Best of luck for the following!
Your comment is awaiting moderation.