Making a DIY camping tent from scratch is one of the best projects you can ever take up.
You can build a simple tent with simple materials available at home. Building more substantial tents that can survive harsh weather might require a few additional materials. You can purchase these materials at an affordable price.
So why should you build a DIY camping tent? Well, there are many reasons.
Contents
Why Make A DIY Camping Tent
The first reason is the price. You can save a lot of money by building your tent.
You no longer need to rely on expensive tents. Commercially made tents can make a dent in your pocket. And a lot of times, they aren’t as effective as you might want them to be. Some tents lack waterproofing, while others are too complicated to put up.
Making your camping tent will boost your confidence while enhancing your camping techniques. There is nothing better than becoming more self-reliable. It is a quality that will help you survive in nature. DIY camping tents are much lighter than commercial tents. You have the freedom to pick and choose the materials that will make up your tent.
A camping tent is made up of poles, guy ropes, a tarp, and a material that will cover the entire tent. This material is used for weather-proofing. You can also add a rainfly to your DIY camping tent. Learning how to build your DIY camping tent will always come in handy. Say your commercial tent breaks down while you are out in the woods.
You can make your camping tent with the materials available. It will be sturdy enough to survive the weather. It will also provide excellent protection from the harsh elements of nature. There have also been times when people have forgotten their camping tents at home. In such a situation, you can make your DIY camping tents.
DIY camping tents are reliable and easy to make. Of course, it requires a bit of practice, but what doesn’t?
Once you master the art of DIY camping tents, you are golden! Self-made tents are light to carry. It will ensure you don’t break your back while bringing it to the campsite. They are easy to pack and maintain.
Commercial tents come in fixed sizes. By building your DIY camping tent, you can determine how big or small it needs to be. You no longer need to cramp into a commercial tent; instead, build your own.
How To Make A DIY Camping Tent
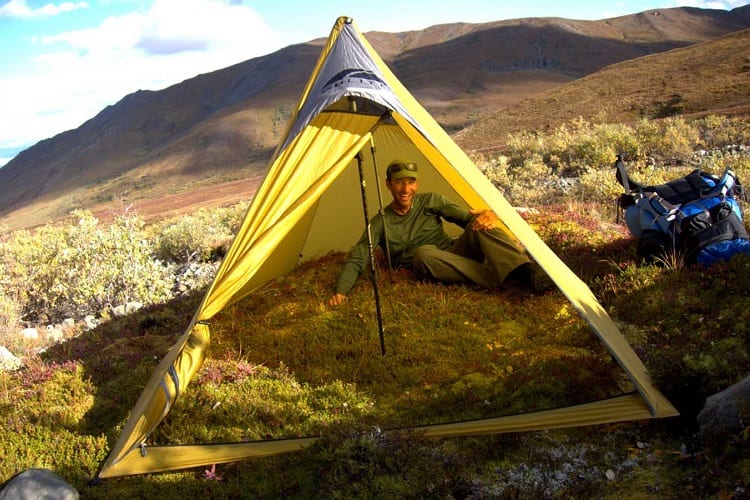
Planning is the most critical part of making a DIY camping tent.
You need to have all your materials in one place before you begin. No project is perfectly done with meticulous planning.
Before you start collecting materials for your camping tent, you need to know the exact size and weight of the tent. Figure out how many people will be camping in your tent. Once that is set, you can figure out its weight.
Since you will be carrying the tent to your campsite, you need to know how much it should weigh. Now that size and weight are out of the picture, you need to figure out the weather.
You will need different materials for different seasons. Are you planning to go camping in the summer or winter? Is there a possibility of rain? Will it be cold?
Once these questions are answered, you will have a clear picture of what your tent will look like. After answering all these questions in detail, you will figure out what materials will be necessary.
Materials
The three most important aspects of a camping tent are – the rainfly, the footprint, and the tent body.
The floor print is a massive piece of tarp that acts as the tent’s floor. It would be best to cover the ground before putting a tent above it. This way, your feet will be clean and warm. The tent body is what goes on top of the tent. It would be best if you made it out of polyester or nylon.
Some people also prefer cotton or canvas. And the final piece is the rainfly. It is the outermost part of the tent. It is pitched tightly to the floor. A rainfly should be windproof and water-resistant.
The most important thing about a camping tent is the material. Camping tents are made of polyester, cotton, canvas, or nylon.
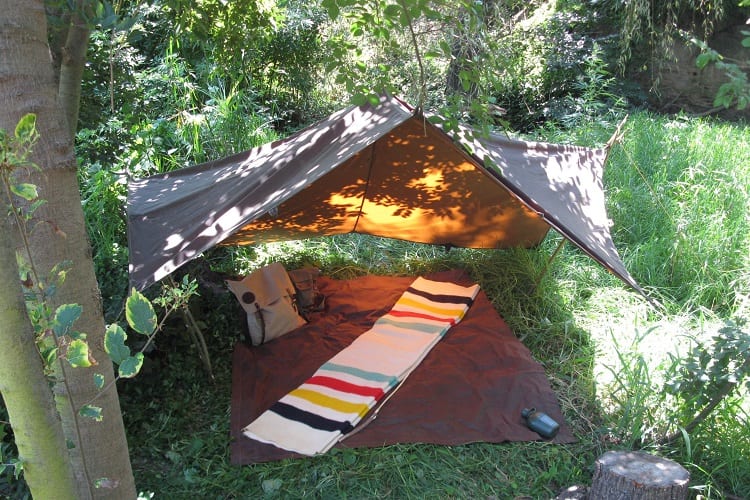
Polyester and nylon are the most commonly used materials. They are cheap and readily available. Synthetic materials are waterproof. They protect from rain and snow. Cotton, on the other hand, is not waterproof. It absorbs water and does not dry quickly.
Nylon, on the other hand, is quick to dry. It does not absorb water, instead wicks it off. Cotton and canvas are breathable materials. They provide better insulation and regulate the temperature inside the tent.
Polyester is not a breathable material. It creates condensation inside the tent, which in turn dampens it. Synthetic materials are only available in bright colors. These colors can fade due to sun exposure, thus reducing the aesthetic appeal of your tent.
Polyester is lighter than cotton or canvas. It is also more resistant and durable. Cotton is heavier to carry than polyester. Polyester will be suitable for rainy weather, whereas cotton will be better for sunny weather!
Now that you understand the pros and cons of the material, you can pick one that fits your needs.
Equipment
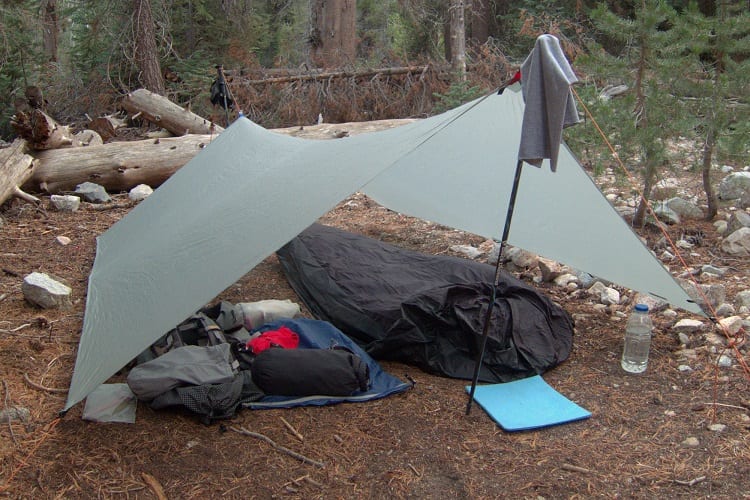
Poles
Once you are done picking the suitable material, you need to decide on the poles. Poles provide definition and structure to a tent. They are the backbone of the entire tent. It is ideal to select poles made of aluminum.
Aluminum alloys also work well. There is a strong reason why aluminum poles are so resistant. This material does not rust. It is strong and light at the same time. No other metal possesses all these qualities.
Pegs
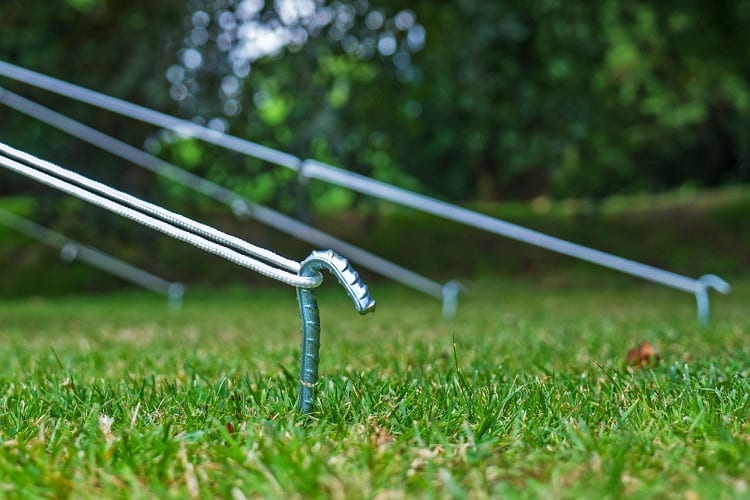
Pegs are an essential part of a camping tent. They are hammered into the ground. You can choose pegs made out of any material. All you need to do is ensure they are solid and stable.
Guy-ropes
The next item on the list is Guy-ropes. They are attached to the pegs to keep the tent stable. The main job of a Guy-rope is to provide stability.
They hold the tent in place and protect it from blowing over. A strong rope will ensure that the tent remains intact. It is crucial to buy ropes made of synthetic or nylon. Other materials may become loose or shrink on becoming wet or dry.
Now that all our supplies are sorted, we can begin building our DIY camping tent.
DIY Camping Tent: Step-By-Step Guide
Step 1
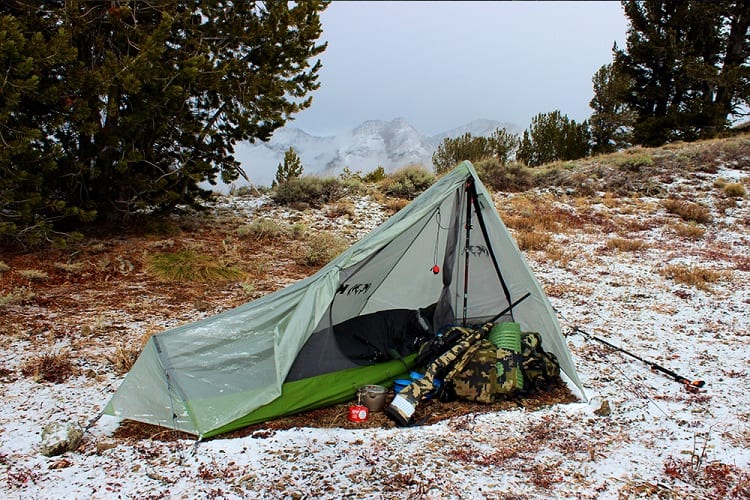
The first step is to find the right location. Find an even ground to set up your DIY camping tent. This ground shouldn’t have any loose mud and should be leveled out.
You will need to install the center post on this ground. The center post will act as a spinal cord. Picking an even ground will also ensure that small stones don’t poke you when you move around in your tent.
Step 2
The second step is to make holes in the tarp. Place the tarp flat on the ground and smooth out all the wrinkles. A tarp is a material you will use to build the tent.
You will place one tarp on the ground while the other will go over the center of the pole. The tarp placed on the floor needs to be shaped like a bathtub. The bathtub shape prevents water from seeping in.
Step 3
Now, take a guy rope, put it through the tarp, and use it to secure the tarp on the floor. Stretch it out completely using the guy ropes.
Now tie the guy rope around the pegs. Pegs need to be hammered into the ground. If you don’t have a hammer, you can use a rock to push them into the ground.
Step 4
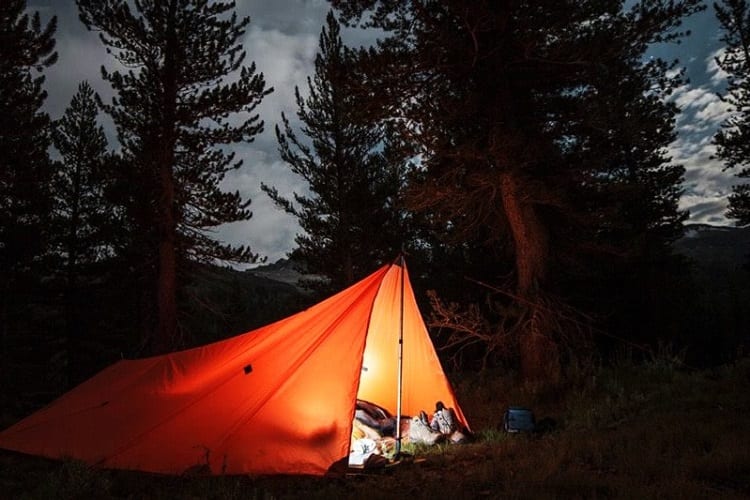
Next is the tarp that will cover the entire tent. It would help if you made small holes on the edge of the tarp. These holes will hold the tent together.
The holes in the tarp should be big enough for a rope to go through them. Place the tarp over the center post and tie it to the pegs hammered into the ground. Tie the rope tightly; this will ensure stability.
Step 5
Stretch out all the tarp corners and tie them to the pegs. Secure all the poles and ropes and make sure your tent is sturdy.
Now step inside your awesome DIY camping tent and check to see if everything is perfect. Your tent should look like a teepee!
DIY Tent Vs Readymade Tent
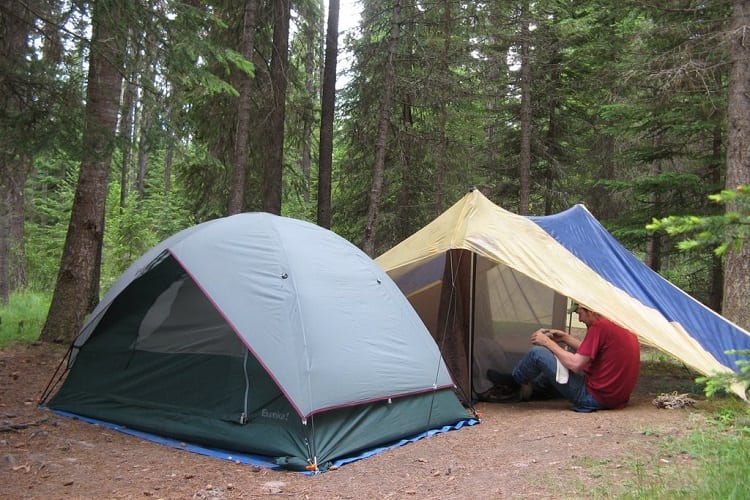
Store-bought tents are more expensive than DIY camping tents. Some of them require additional waterproofing.
It means additional costs. A DIY camping tent costs less, and you can customize the size as per your needs. Using good quality materials, you can make a sturdy tent that lasts in every weather.
Conclusion
Building a DIY camping tent is a lot of fun.
You get to learn the basics of making a tent while keeping your budget in check. Make sure to try out the tent in your backyard before taking it to your campsite.
And most importantly, have fun making your DIY camping tent!
References:


Experience the best Washer Dryer Repair Chicago with our certified technicians. We provide affordable washer dryer repairs and maintenance in Aurora, Joliet, and Tinley Park. Count on our Chicago IL washer dryer technicians for efficient service and expert solutions.
Your comment is awaiting moderation.
We deliver professional, customized and affordable website design and development services for our clients in San Fransisco and beyond,
Your comment is awaiting moderation.